Convert Logo for BAi Mirror Embroidery Machine for Precise Stitch Control
By Digitizing Buddy
56 Views
Introduction: Why Your Logo File Makes or Breaks the Stitch
You have a crisp logo. You have a BAi Mirror embroidery machine ready to run. But when you hit start, the thread bunches, the fabric puckers, and the design looks nothing like your original artwork. The problem is not the machine. It is the file you fed it. That is why learning to properly Convert Logo for BAi Mirror Embroidery Machine is the difference between a professional patch and a frumpy mess.
Embroidery digitizing is a completely different animal than printing or drawing. A logo that looks flawless on paper can stitch out as a tangled disaster if you do not prepare it correctly. The BAi Mirror machine reads stitch files as a series of commands: move here, punch there, change color. If your conversion ignores fabric type, stitch density, or pull compensation, the machine faithfully follows bad instructions. Garbage commands, garbage stitches.
Let me walk you through exactly how to convert your logo so every thread lands where it should, every time. No fluff. No confusing jargon. Just practical steps you can use today.
Understand What the BAi Mirror Machine Actually Needs
Before you open any software, you need to know what file format your BAi Mirror model accepts. Most BAi Mirror machines work with .DST, .PES, or .EXP formats. .DST is the safest bet because it is the industry standard for commercial embroidery. Check your manual, but if you are unsure, choose .DST.
Your machine does not care about pretty colors on a screen. It cares about stitch type (running, satin, or fill), stitch angle, density (how close stitches sit to each other), and underlay (the foundation stitches that stop fabric from shifting). A proper conversion gives the machine these four things in a language it understands.
Also, know your hoop size limitation. If your logo is 8 inches wide but your BAi Mirror only hoops 6 inches, you either resize or split the design. Always check this before spending hours on a conversion that will not fit.
Step 1: Clean Up Your Original Logo Artwork
You cannot convert garbage into gold. Start with the cleanest version of your logo. Vector files like .AI, .EPS, or .SVG work best because they have sharp edges. If you only have a JPEG or PNG, open it in a program like Inkscape or Illustrator and manually trace over it with the pen tool. Remove drop shadows, gradients, and transparency. Embroidery machines do not understand those effects. They understand solid shapes.
Simplify your logo aggressively. Every tiny detail less than 2mm wide becomes a thread break nightmare. For example, thin text or small stars will stitch as blobs. Either enlarge those details or remove them entirely. Ask yourself: does this tiny element survive at 1.5mm wide with thread? If no, cut it.
Save your cleaned artwork as a high-contrast black and white image. Black becomes stitches. White becomes no stitches. This binary map makes the digitizing software's job trivial.
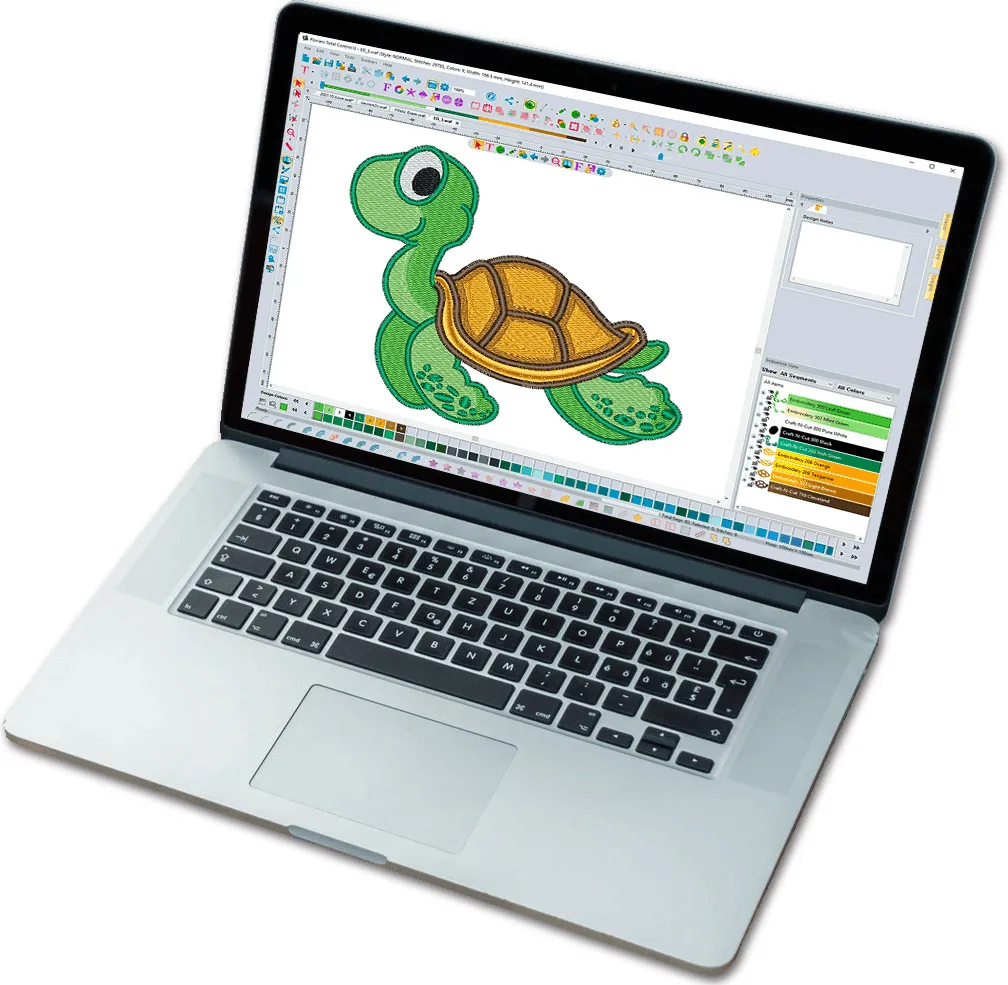
Step 2: Choose the Right Digitizing Software for BAi Mirror
You have options depending on your budget and skill level. Wilcom Embroidery Studio is the professional gold standard, but it costs as much as a used car. Hatch Embroidery (made by Wilcom) offers a more affordable $1,000 range. For beginners, InkStitch (a free plugin for Inkscape) works shockingly well with BAi Mirror machines once you learn its quirks.
I recommend starting with Hatch if you plan to convert multiple logos. It includes auto-digitizing for simple shapes, plus manual tools for fine control. The free trial lasts 30 days, which is plenty of time to test your logo conversion before buying.
Avoid cheap online converters that promise one-click digitizing. They ignore fabric type, produce backwards densities, and usually stitch out looking like tangled fishing line. You get what you pay for.
Step 3: Set Your Hoop, Fabric, and Thread Type First
Before you convert a single stitch, tell your software what fabric you are sewing onto. Here is why this matters so much:
- T-shirts and knits: These fabrics stretch. Set higher pull compensation (0.4 to 0.6mm) so stitches do not shrink inward. Use a light underlay.
- Caps and structured fabrics: These are rigid. Use lower pull compensation (0.2 to 0.3mm). Add a heavier underlay to stop needle deflection.
- Towels or fleece: These fabrics eat thread. Increase stitch density by 15 to 20 percent. Use a double underlay.
For thread type, standard 40-weight polyester thread works for most logos. If your logo uses very fine text, switch to 60-weight thread in your software settings. The BAi Mirror handles both, but you must tell the conversion software which needle and thread you plan to use.
Step 4: Assign Stitch Types the Smart Way
Now the real conversion begins. Most digitizing software lets you trace your logo and assign different stitch types to different areas.
Use satin stitches for borders, text, and any shape narrower than 8mm. Satin stitches lay flat side-by-side like a zipper. They look clean and professional. Set your satin stitch angle perpendicular to the shape’s longest direction. For a vertical letter like "I", use horizontal satin stitches. For a horizontal line, use vertical satin stitches. This simple rule prevents thread gaps.
Use fill stitches (also called tatami stitches) for large solid areas wider than 8mm. Fill stitches zigzag back and forth. Keep density between 0.35mm and 0.45mm for most fabrics. Too dense, and the fabric puckers. Too sparse, and the background shows through. For a standard cotton polo, 0.4mm density works beautifully.
Use running stitches for fine details, thin lines, and underlay. Running stitches are just single straight stitches. Keep running stitch length at 1.5mm to 2.5mm. Shorter than that, and the thread frays. Longer than that, and the stitch snags on everything.
Step 5: Add Pull Compensation Before You Finalize
Here is the secret that separates amateur conversions from pro-level ones. When a needle punches into fabric, it pushes fibers aside. Those fibers spring back slightly after the stitch, making your design shrink by about 0.3mm to 0.5mm per side. Pull compensation adds width to your shapes so that after the push-and-pull, they end up the correct size.
In your software, look for pull compensation settings. For medium-weight cotton, add 0.3mm outward on all satin columns and fill edges. For stretchy knits, add 0.5mm. For caps, 0.2mm. This tiny adjustment stops your logo from looking skinny and distorted after hooping.
Step 6: Simulate the Stitch-Out Before You Sew
Every decent digitizing software includes a stitch simulator. Run it. Watch the needle path. Look for long jumps where the machine moves across empty space without stitching. Those jumps create loose threads on the back of your garment. Manually trim those jump stitches or add tie-in/tie-out stitches to lock them.
Check your thread colors. The BAi Mirror reads color change commands automatically, but only if you assigned unique colors to each thread change. Assign bright, distinct colors in your software (red for first color, blue for second, yellow for third). The machine stops and beeps at each color change, waiting for you to rethread.
Finally, check for stitch clumping. If your simulator shows stitches landing on top of each other in the exact same spot, reduce your density slightly. Too many stitches in one hole shreds the fabric and breaks needles.
Step 7: Export and Test on Scrap Fabric
Export your converted file as .DST or whatever format your BAi Mirror needs. Name the file clearly without special characters (no "Logo#2@Final. dst" — that confuses some machines). Now hoop a piece of scrap fabric identical to your final garment. Run the design. Watch closely.
Does the fabric ripple or pucker? Your density is too high or your pull compensation is too low. Does thread keep breaking? Your stitch length is too short or your angles are too steep. Are there gaps between colors? Increase pull compensation next time. Write down every issue. Then go back to your software, tweak one setting at a time, and run another test. It usually takes two or three test sew-outs to dial in a new logo perfectly.
Conclusion: Master the Conversion, Master the Machine
Converting a logo for the BAi Mirror is not magic. It is a repeatable process: clean artwork, proper fabric settings, smart stitch assignments, honest pull compensation, and real-world testing. Rush any of these steps, and your machine will punish you with thread nests and misaligned patterns. Do them right, and you will crank out crisp, durable logos that look factory-made.
The best part? Once you build a library of tested conversions for different fabrics, every future logo gets faster. You will know that cotton polos need 0.4mm pull compensation and 0.4mm density. You will know that caps need a heavier underlay. That knowledge turns the BAi Mirror from a frustrating puzzle into a reliable workhorse.
So grab that logo. Fire up your digitizing software. Walk through these steps one by one. And when you hit start on the machine, watch those perfect stitches fall exactly where you told them to. That feeling never gets old.